Product images
Plan Product Image Concepts and Check the Details
Use a skincare bottle and coffee package to work through shape, props, empty space, and the difference between a concept and an accurate product image.
The first question for a product image is whether it still represents the product. An attractive background cannot make up for a changed cap, a missing connector, or packaging with the wrong proportions. Those details matter before color and atmosphere.
The current product tool generates from text. It does not accept product photos or preserve a specific item's identity. Use this workflow to explore backgrounds, lighting, and campaign layouts. For accurate real-product presentation, compare against the actual item and use photography or an editing workflow that preserves its appearance when needed.
1. Separate a product view from a campaign visual
A listing concept needs a clear silhouette, visible material, and few props. A campaign image may need atmosphere and space for a later headline. Start with one purpose. Check the standalone object before adding a full scene around it.
If you already have a real product, list the features that must not change. Compare the generated image against reference photos. A detailed prompt is still a request: the model can alter color, proportions, and packaging despite the description.
2. Describe the object instead of relying on a brand name
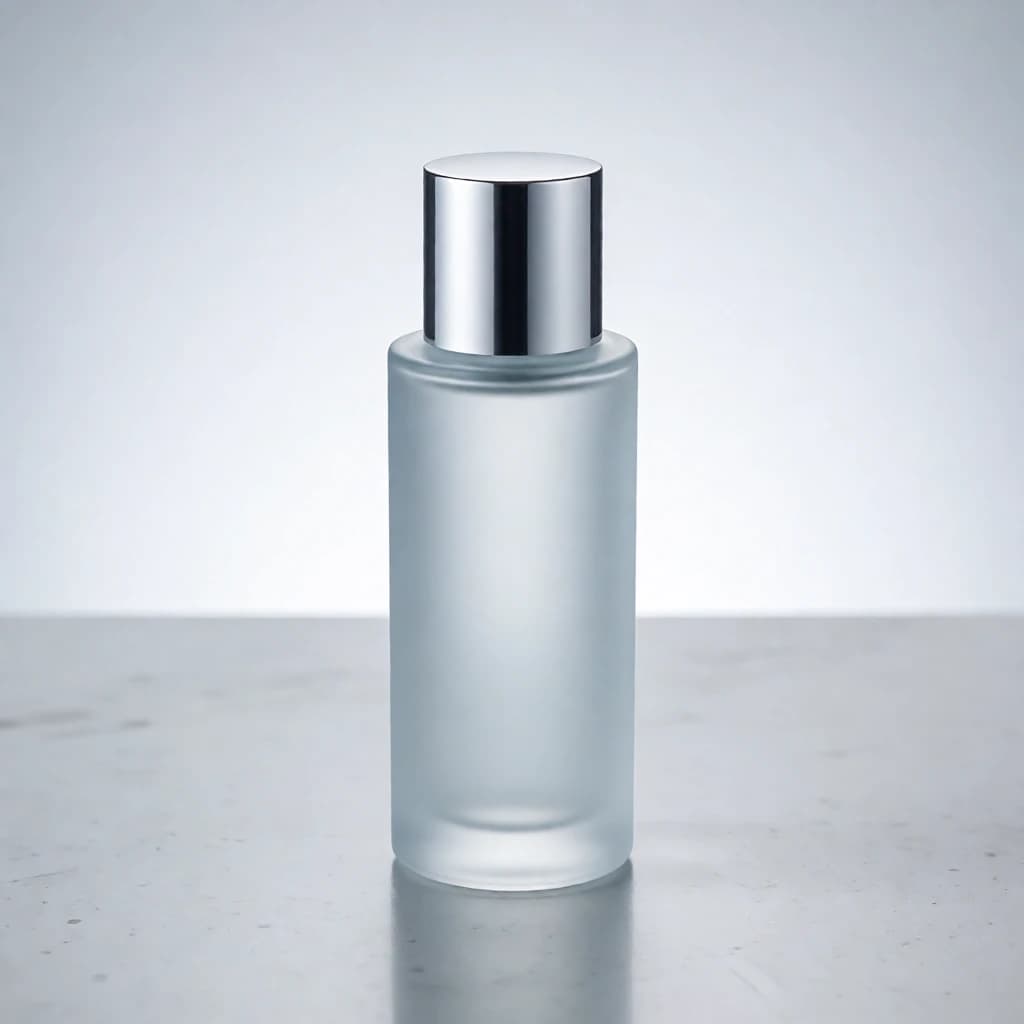
For a skincare bottle, begin with a short inventory: one item, cylindrical shape, frosted glass, round silver cap, no label. Leave out logos and promotional wording initially. 'Frosted glass' describes something you can inspect; 'premium material' does not specify its appearance.
The product page uses fixed product-photography, cool-tone, soft-light, and centered-composition settings. The ratio remains adjustable. Start with 1:1 and a plain studio setting. If you need freely selectable styles or lighting, use the general generator on the homepage.
One cylindrical frosted-glass skincare bottle, round silver cap, no label, no brand text, standing upright in the center of a light grey surface, complete bottle visible, clean studio background, soft reflections, no text
3. Give each prop a reason to be there
A few coffee beans can explain the context of a coffee package. Several cups, flowers, and books can hide it. Introduce one kind of prop first, then check whether the product remains the main subject.
Inspect glass, metal, and transparent plastic closely. Rich reflections can contain invented openings or misplaced edges. Do not mistake those artifacts for product details. If reflections make the object hard to understand, simplify the setting before adding more lighting instructions.
4. Plan empty space and add accurate wording later
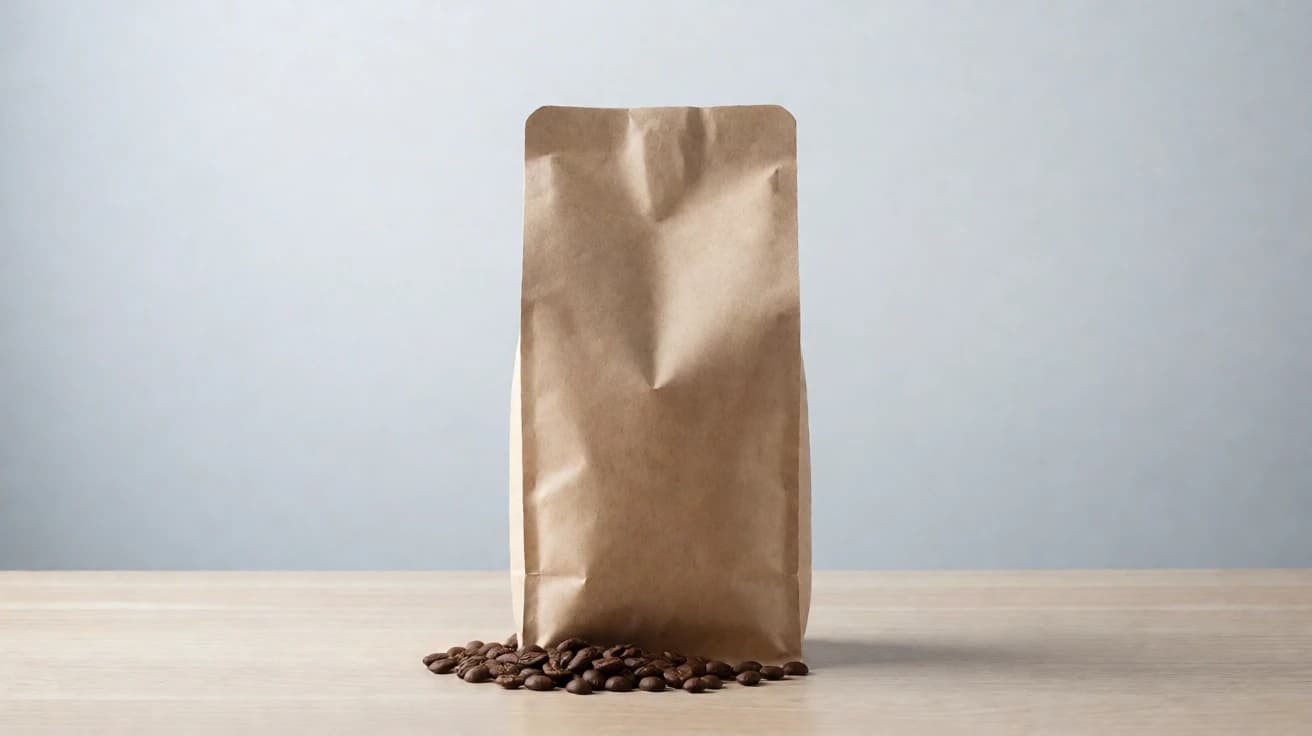
For a coffee campaign, try 16:9 with the package in the center and open areas on both sides. That agrees with the product page's centered composition. For more flexible placement, use the general generator; a written request for a precise location still needs checking.
Add prices, dates, conditions, and brand lettering in an external editor. Generated text can look plausible from a distance and become nonsense when enlarged. Empty space is a layout request, not a guarantee that the image will accommodate your headline.
One unlabelled kraft-paper coffee bag standing upright in the center, front facing the camera, light tabletop, a few coffee beans at the base, plain light grey background, empty space on both sides of the product, horizontal product-advertising composition, no text
5. Reject product errors before judging the atmosphere
Review the object before the background. A changed silhouette, tilted cap, or invented connector can make the image unsuitable even when the colors work. Do not use cosmetic edits to hide a fundamental mismatch with the real item.
| Area | Problem to look for | Next step |
|---|---|---|
| Shape | Incorrect height or cap design | Compare with the real item; keep only as a concept if inaccurate |
| Labels | Gibberish, wrong brand, invented specifications | Remove or rebuild in an editor, then proofread |
| Surface and shadow | Floating object or conflicting shadow | Simplify placement and lighting, then retry |
| Props and edges | Merged beans or extra parts | Reduce props and inspect connections |
6. Turn the chosen direction into a usable brief
Record the object description, background, ratio, and intended placement. A photographer or designer can use those decisions more easily than a context-free image. State which parts are references: 'Use this background and arrangement; the product appearance must match the physical item.'
Before publishing, check the product match, lettering, prices, and marks again. Verify applicable licenses and permissions for third-party brands, people, or other elements. Generating an image does not establish permission for everything depicted in it.
- Keep both the original generation and the edited file.
- Save the prompt, ratio, and intended use.
- Store concept references separately from final product presentation files.
- Do not put unverified product features into sales copy.